
Domain Setup
Connecting your subdomain
Setting up your domain in Cloudflare is unnecessary if you connect your subdomain to blogstatic. However, Cloudflare does offer a few perks in terms of optimization and security.
If you decide to do so, follow our guide on Setting up your domain in Cloudflare.
Setting up your subdomain in blogstatic
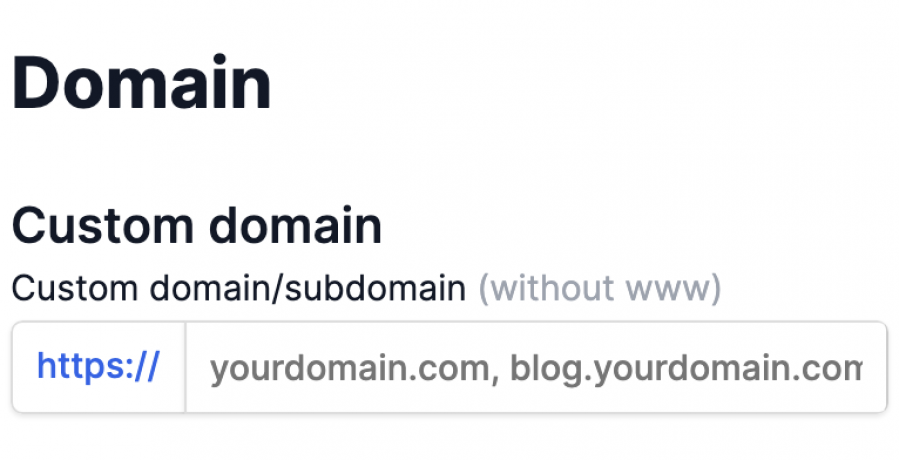
In blogstatic, in "Settings > Domain", enter your custom subdomain.
Adding DNS values
Important note: The example below is for domains running via Cloudflare. However, the setup is similar in most domain registrars.
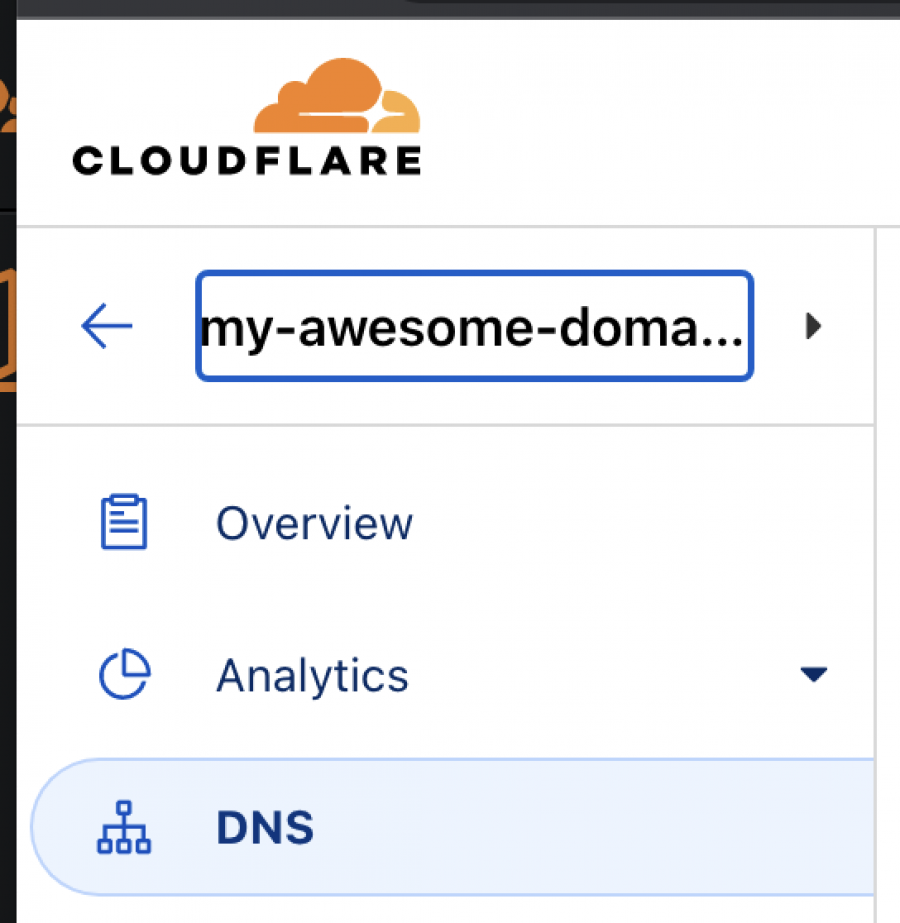
On your Cloudflare dashboard, click on the "DNS" tab.
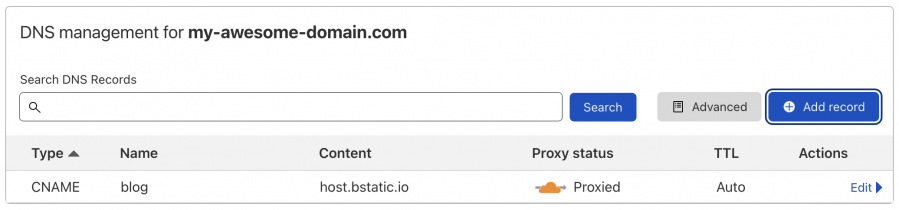
Click "+ Add Record" on the DNS view to insert a new CNAME record.
Enter the following values:
- Type: CNAME
- Name: the subdomain of your choice (blog, anything...)
- Target: host.bstatic.io
- Proxy status: On
Click "Save".
Your DNS management should look like the image below.
SSL/TLS (Only for domains in Cloudflare)
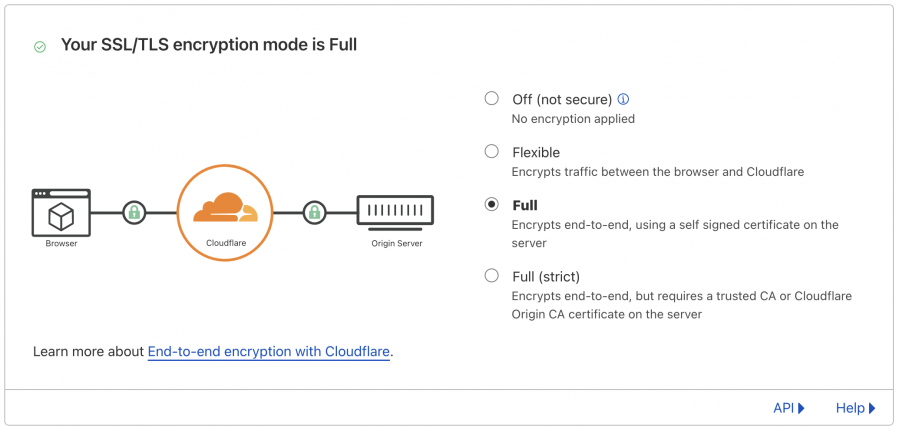
As a final step, visit the "SSL/TLS" tab on your Cloudflare dashboard.
Select "Full" for your encryption mode.
Final checklist
- Set up your custom subdomain in blogstatic
- Enter DNS values in your registrar (or Cloudflare)
- For Cloudflare domains: Select "Full" for encryption mode in the SSL/TLS page
