
Domain Setup
Setting up your domain in Cloudflare
Setting up your domain in Cloudflare does not mean moving your domain to Cloudflare. Your domain will remain on your original registrar (GoDaddy, Name, Namecheap, etc.) — You will only point the nameservers of your domain to Cloudflare.
Creating an account in Cloudflare
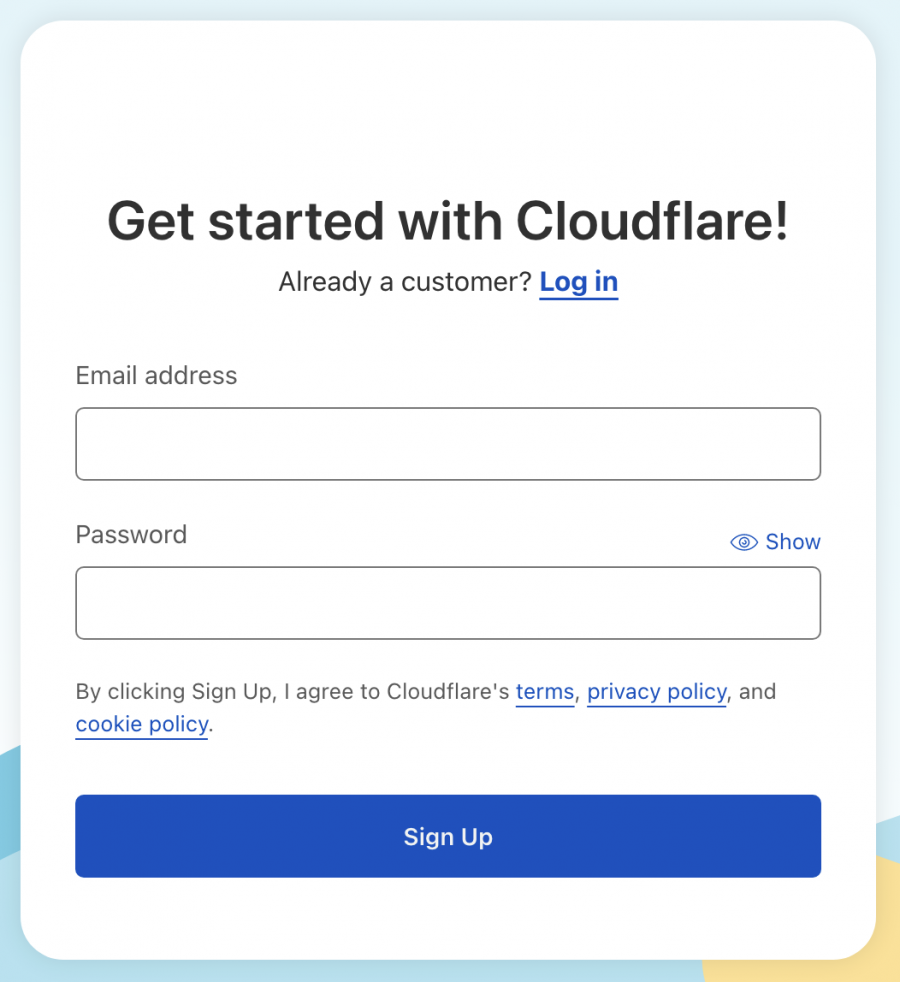
Creating a new account in Cloudflare is free. All you need is a valid email address.
Go to their Sign up page and create your account.
Adding your domain
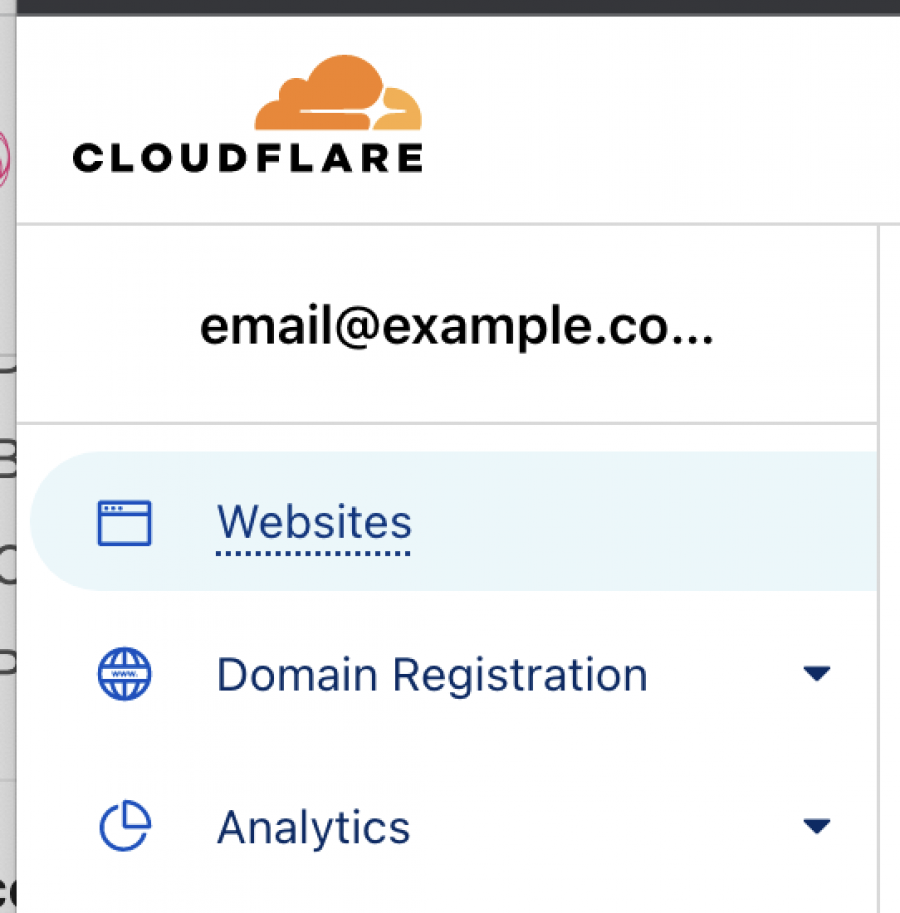
Once in, visit the "Websites" tab on the left of the Cloudflare dashboard.
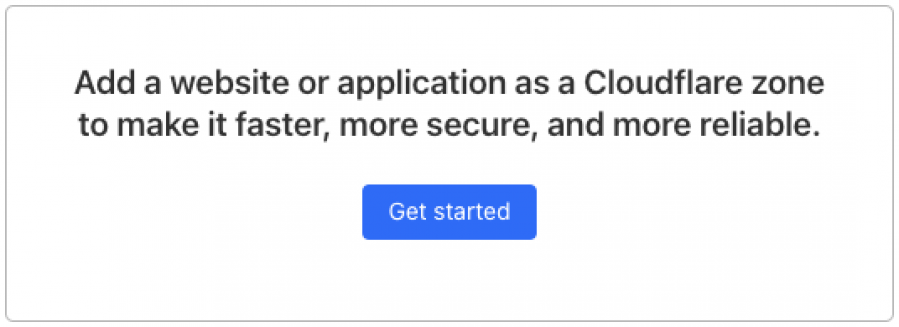
On the next screen (Websites), click on the "Get Started" button.
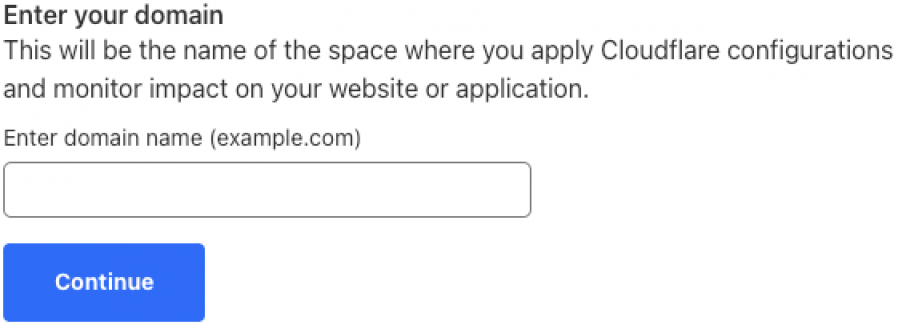
Enter the domain you want to connect, and click "Continue"
Once that is done, you will be given a screen to select a plan.
Scroll down and select the "Free" plan, which is what we need for our purposes.
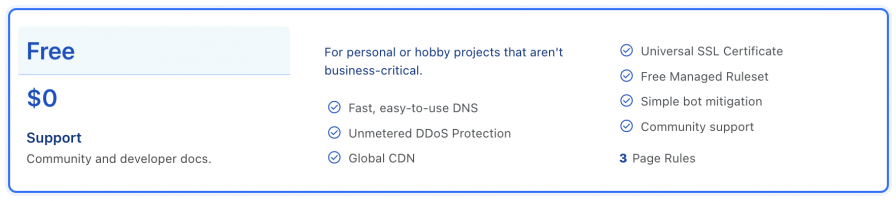
Hit "Continue".
DNS records' scanning
Cloudflare will quickly scan your current DNS records so you can import them without entering every single one individually.
Also, you can choose at this point to enter your DNS records, depending on which type of domain you're connecting:
- Your main domain or
- a subdomain.
Important: If you plan to run your blog under the /subfolder of your main domain, DO NOT add any DNS records at this point, except the ones that Cloudflare will import for you from the current DNS manager (domain registrar) of your domain.
Nameservers
After hitting "Continue" on the previous screen, you'll be presented with your new Nameservers.
They will look something like this:
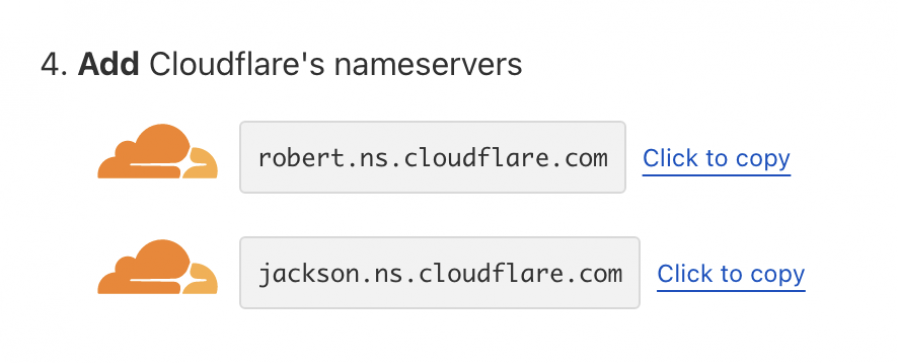
To add them to your domain registrar, do the following:
- In your domain name's registrar (Name.com, Google Domains, etc.) find the Nameserver page for your specific domain
- Remove any existing nameservers and enter only your new Cloudflare nameservers
- Save this change
Note: It may take up to 24 hours for nameserver changes to be updated. However, from our experience, we usually notice changes being updated after several minutes.
Quick Start Guide
On the next screen, please make sure to select the following to optimize your site:
- Automatic HTTPS Rewrites = On
- Always Use HTTPS = On
Click "Finish"
At this point, you are done setting up your domain on Cloudflare.
Next, move on to connecting your main domain, subdomain, or /subfolder.
